This article illustrates how to do a Spring Hello World by using Eclipse and Maven. You should install eclipse and maven plugin first.
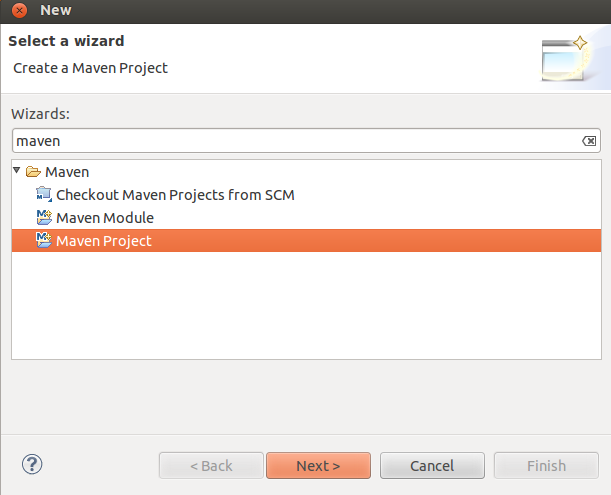
1. Set up a Maven Project
Create a Maven project by using the Wizard.

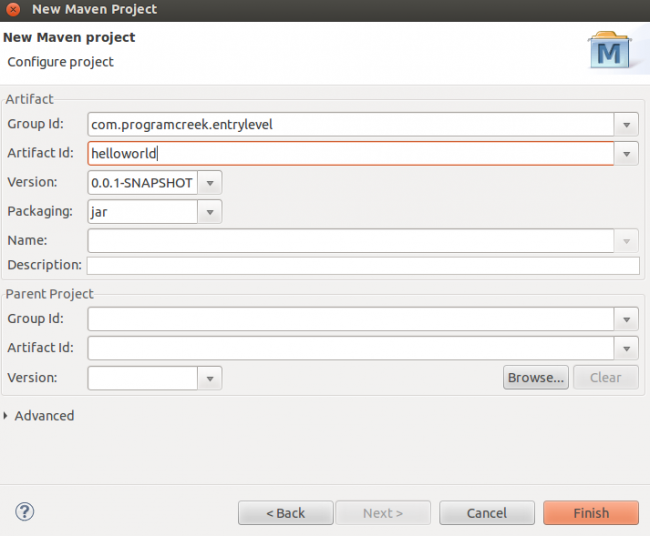
GroupId identifies the project uniquely across all projects, so we need to enforce a naming schema. ArtifactId is the name of the jar without version. For more information about each field, check out the official page about maven naming convention: http://maven.apache.org/guides/mini/guide-naming-conventions.html.
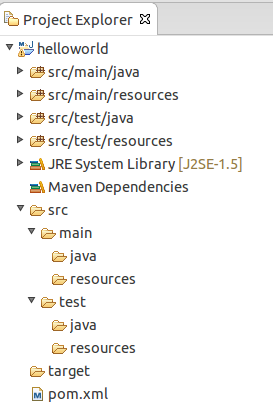
The created project under Project Explorer view likes the following:
2. Add Spring Dependency
Edit the pom.xml file and add dependencies of Spring packages. The pom.xml should be changed to:
<project xmlns="http://maven.apache.org/POM/4.0.0" xmlns:xsi="http://www.w3.org/2001/XMLSchema-instance" xsi:schemaLocation="http://maven.apache.org/POM/4.0.0 http://maven.apache.org/xsd/maven-4.0.0.xsd"> <modelVersion>4.0.0</modelVersion> <groupId>com.programcreek.entrylevel</groupId> <artifactId>helloworld</artifactId> <version>0.0.1-SNAPSHOT</version> <dependencies> <dependency> <groupId>org.springframework</groupId> <artifactId>spring-core</artifactId> <version>${spring.version}</version> </dependency> <dependency> <groupId>org.springframework</groupId> <artifactId>spring-context</artifactId> <version>${spring.version}</version> </dependency> </dependencies> <properties> <spring.version>3.2.3.RELEASE</spring.version> </properties> </project> |
3. Create the Spring Bean Configuration File
Create a bean configuation file named “applicationContext.xml” under src/main/resources directory. This xml file specifies the bean you will define in the project. Note the class is the fully qualified class name with the package.
<beans xmlns="http://www.springframework.org/schema/beans" xmlns:xsi="http://www.w3.org/2001/XMLSchema-instance" xmlns:p="http://www.springframework.org/schema/p" xmlns:aop="http://www.springframework.org/schema/aop" xmlns:context="http://www.springframework.org/schema/context" xmlns:jee="http://www.springframework.org/schema/jee" xmlns:tx="http://www.springframework.org/schema/tx" xmlns:task="http://www.springframework.org/schema/task" xsi:schemaLocation="http://www.springframework.org/schema/aop http://www.springframework.org/schema/aop/spring-aop-3.2.xsd http://www.springframework.org/schema/beans http://www.springframework.org/schema/beans/spring-beans-3.2.xsd http://www.springframework.org/schema/context http://www.springframework.org/schema/context/spring-context-3.2.xsd http://www.springframework.org/schema/jee http://www.springframework.org/schema/jee/spring-jee-3.2.xsd http://www.springframework.org/schema/tx http://www.springframework.org/schema/tx/spring-tx-3.2.xsd http://www.springframework.org/schema/task http://www.springframework.org/schema/task/spring-task-3.2.xsd"> <context:component-scan base-package="com.programcreek.examples" /> <bean id="helloWorldService" class="com.programcreek.entrylevel.services.HelloWorldService"> <property name="name" value="Program Creek Readers" /> </bean> </beans> |
4. Create a Spring Bean
Create HelloWorldService Bean under /src/main/java directory. The package should be the same with how you declared in the bean configuration file.
package com.programcreek.helloworld.services; import org.springframework.stereotype.Service; @Service("helloWorldService") public class HelloWorldService { private String name; public void setName(String name) { this.name = name; } public String sayHello() { return "Hello! " + name; } } |
5. Run the Maven Project
Create a Hello class under /src/main/java directory to test the project.
package com.programcreek.helloworld; import org.springframework.context.ApplicationContext; import org.springframework.context.support.ClassPathXmlApplicationContext; import com.programcreek.helloworld.services.HelloWorldService; public class Hello { @SuppressWarnings("resource") public static void main(String[] args) { // loading the definitions from the given XML file ApplicationContext context = new ClassPathXmlApplicationContext( "applicationContext.xml"); HelloWorldService service = (HelloWorldService) context .getBean("helloWorldService"); String message = service.sayHello(); System.out.println(message); //set a new name service.setName("Spring"); message = service.sayHello(); System.out.println(message); } } |
Finally, the Spring project should look like:

Right click Hello.java and run it as Java Application. The result is:
Hello! Program Creek Readers
Hello! Spring
6. Summary
This is a simple example that shows how to create a Spring project by using Maven under Eclipse. The key idea of Spring framework is Inversion of Control (IoC). IoC refers to the programming style where a framework or runtime, controls the program flow. Inversion of control means we are changing the control from normal way.
Simple application lot of mistakes, package name in applicationcontext is wrong, different than defined…how dumb can you be…
Hi, this works in the eclipse… but when i get the jar and run like java -jar hello.jar error found :
Caused by: org.springframework.beans.factory.BeanDefinitionStoreException: IOException parsing
ocument from class path resource [applicationContext.xml]; nested exception is java.io.FileNot
xception: class path resource [applicationContext.xml] cannot be opened because it does not ex
at org.springframework.beans.factory.xml.XmlBeanDefinitionReader.loadBeanDefinitions(X
DefinitionReader.java:344)
at org.springframework.beans.factory.xml.XmlBeanDefinitionReader.loadBeanDefinitions(X
DefinitionReader.java:304)
at org.springframework.beans.factory.support.AbstractBeanDefinitionReader.loadBeanDefi
s(AbstractBeanDefinitionReader.java:181)
at org.springframework.beans.factory.support.AbstractBeanDefinitionReader.loadBeanDefi
s(AbstractBeanDefinitionReader.java:217)
at org.springframework.beans.factory.support.AbstractBeanDefinitionReader.loadBeanDefi
s(AbstractBeanDefinitionReader.java:188)
at org.springframework.beans.factory.support.AbstractBeanDefinitionReader.loadBeanDefi
s(AbstractBeanDefinitionReader.java:252)
at org.springframework.context.support.AbstractXmlApplicationContext.loadBeanDefinitio
tractXmlApplicationContext.java:127)
at org.springframework.context.support.AbstractXmlApplicationContext.loadBeanDefinitio
tractXmlApplicationContext.java:93)
at org.springframework.context.support.AbstractRefreshableApplicationContext.refreshBe
ory(AbstractRefreshableApplicationContext.java:129)
at org.springframework.context.support.AbstractApplicationContext.obtainFreshBeanFacto
tractApplicationContext.java:609)
at org.springframework.context.support.AbstractApplicationContext.refresh(AbstractAppl
nContext.java:510)
at org.springframework.context.support.ClassPathXmlApplicationContext.(ClassPath
licationContext.java:139)
at org.springframework.context.support.ClassPathXmlApplicationContext.(ClassPath
licationContext.java:83)
at com.programcreek.helloworld.Hello.main(Hello.java:15)
… 5 more
Caused by: java.io.FileNotFoundException: class path resource [applicationContext.xml] cannot
ned because it does not exist
at org.springframework.core.io.ClassPathResource.getInputStream(ClassPathResource.java
at org.springframework.beans.factory.xml.XmlBeanDefinitionReader.loadBeanDefinitions(X
DefinitionReader.java:330)
… 18 more
How can i fix this?
There is a small mistake in this example.
use
in applicationContext.xml to run this example.
Thank you!
Thank You.. Helped me a lot
Thanks a lot ,this works exactly as you mentioned here step by step. Saved much time to get a kick start with Spring maven project. The only difference is in source code view, actually I can see the package and classes in first view but not second view(explored view). Although this didnt stop from compiling and program runs fine with same output as you mentioned. I tried it with spring 4.1.4.RELEASE version.
Thanks for helpful share. Cheers !
Very nice tutorial….
able to execute without any errors…