Whatsapp Automation is a collection of APIs that interact with WhatsApp messenger running in an Android emulator, allowing developers to build projects that automate sending and receiving messages, adding new contacts and broadcasting messages multiple contacts.
The project uses Selinium, Appium, Python and Android Virtual Device Emulator.
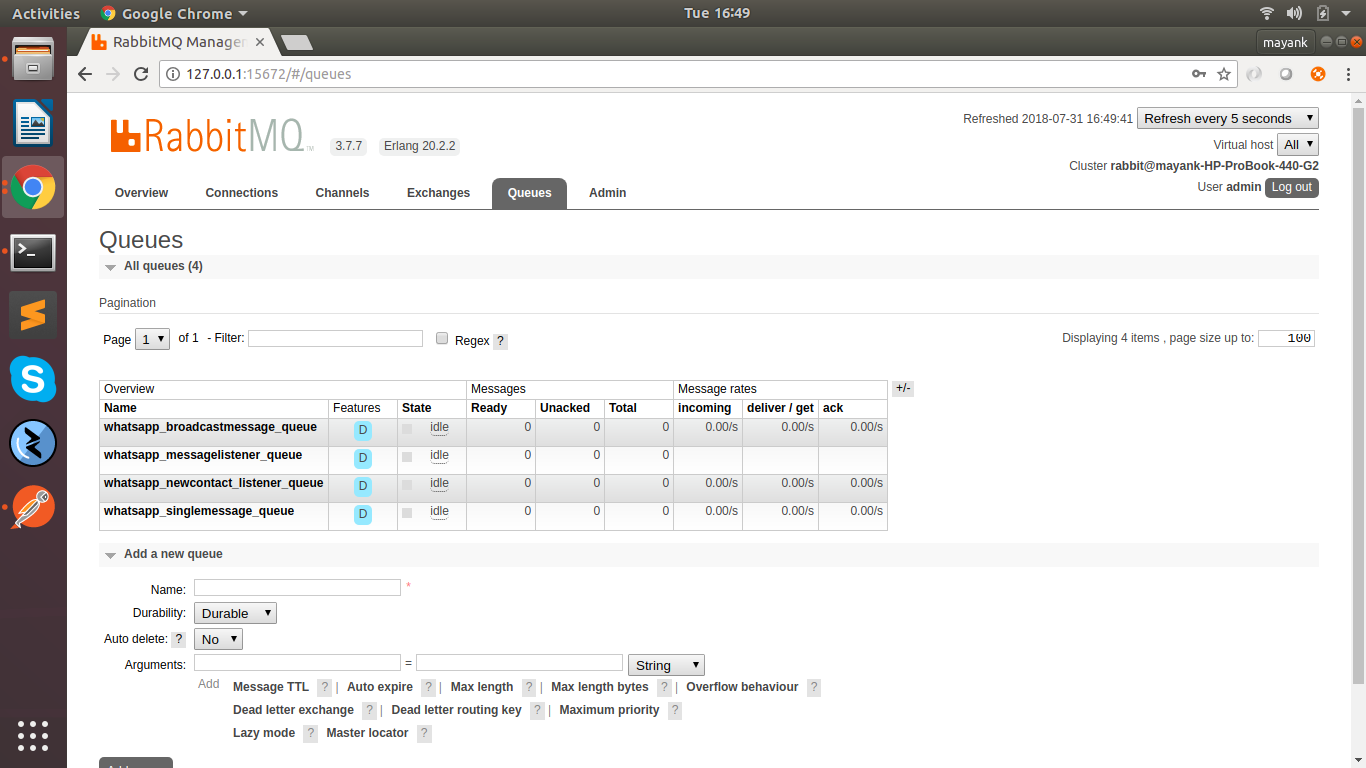
Edit configs/dev.cfg file with your mysql credentials, RabbitMQ credentials and Queue names created. Queue names needs to be created prior to running.
Complete Rabbit-MQ setting file is attached in root with name rabbit_mq_config.json Just import it and you are good to go.
[queue_name]
single_message=whatsapp_singlemessage_queue
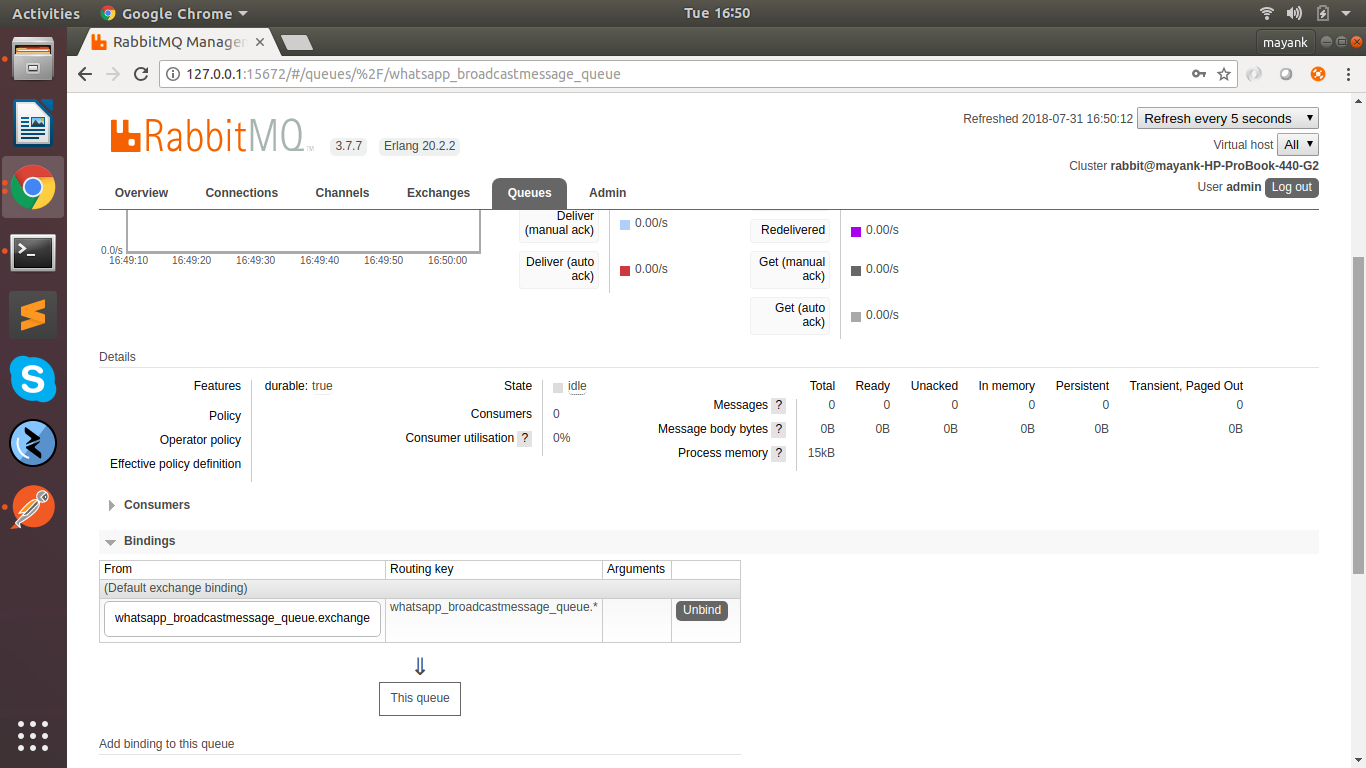
broadcast_message=whatsapp_broadcastmessage_queue
add_contact=whatsapp_newcontact_listener_queue
listen_message=whatsapp_messagelistener_queue
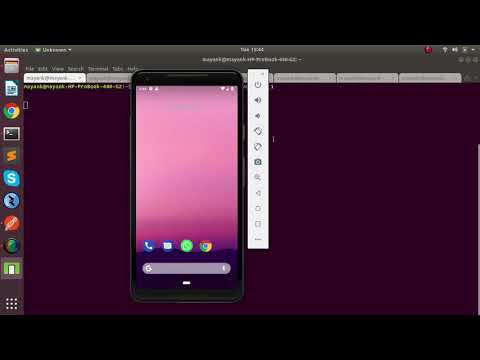
Now at this point you have your Android Virtual Emulator Running, Appium running, Flask running, and rabbit MQ with workers running.
For the very first time you will need to setup Whatsapp manually with some Mobile Number with which it will be sending Messages. You need to verify OTP for Whatsapp and just set it up for use.
Now here are the Apis exposed by this project with which everything will be automated.
Make the necessary log files in directory for error logging.
sudo mkdir -p /var/www/whatsapp_api
sudo chmod -R 777 /var/www/whatsapp_api
sudo touch /var/www/whatsapp_single_worker.log
sudo chmod 777 /var/www/whatsapp_single_worker.log
sudo touch /var/www/whatsapp_single_consumer.log
sudo chmod 777 /var/www/whatsapp_single_consumer.log
sudo touch /var/log/whatsapp_api/api.log
sudo chmod 777 /var/log/whatsapp_api/api.log
URL : http://127.0.0.1:5000/api/v0.1/add_new_contact
TYPE : POST
HEADERS :
Content-Type:application/json
BODY :
{"mobile_number":"+91 XXXXX XXXXX","emulator_name":"pixel_1"}
RESPONSE :
{ "corr_id": "767ae095-0066-49fb-b955-063286ceed1e", "message": "Singal received for Adding Contact", "status": "1" }
URL : http://127.0.0.1:5000/api/v0.1/send_single_message
TYPE: POST
HEADERS :
Content-Type:application/json
BODY :
{"mobile_number":"+91 XXXXX XXXXX","emulator_name":"pixel_1","message_body":"Hi Mayank! How have you been, its been years since we talked."}
Response :
{ "corr_id": "78f21f25-b781-4312-87e5-ebcd73e9b67e", "message": "Singal received for sending message", "status": "1" }
URL : http://127.0.0.1:5000/api/v0.1/send_broadcast_message
TYPE : POST
HEADERS :
Content-Type:application/json
BODY :
{"mobile_number_list":["+91 XXXXX XXXXX","+91 XXXXX XXXXX"],"emulator_name":"pixel_1","message_body":"Hey guys! Enjoy the game!"}
RESPONSE :
{ "corr_id": "ea8894c1-8193-46de-8269-033060135791", "message": "Singal received for sending message", "status": "1" }
URL : http://127.0.0.1:5000/api/v0.1/listen_new_message
TYPE : POST
HEADERS:
Content-Type:application/json
BODY :
{"special_code":"e3gi8d2i8d2382@@#"}
RESPONSE :
{ "corr_id": "a2952cc1-0703-4362-9740-88ede47391cb", "message": "Singal received for listening message", "status": "1" }
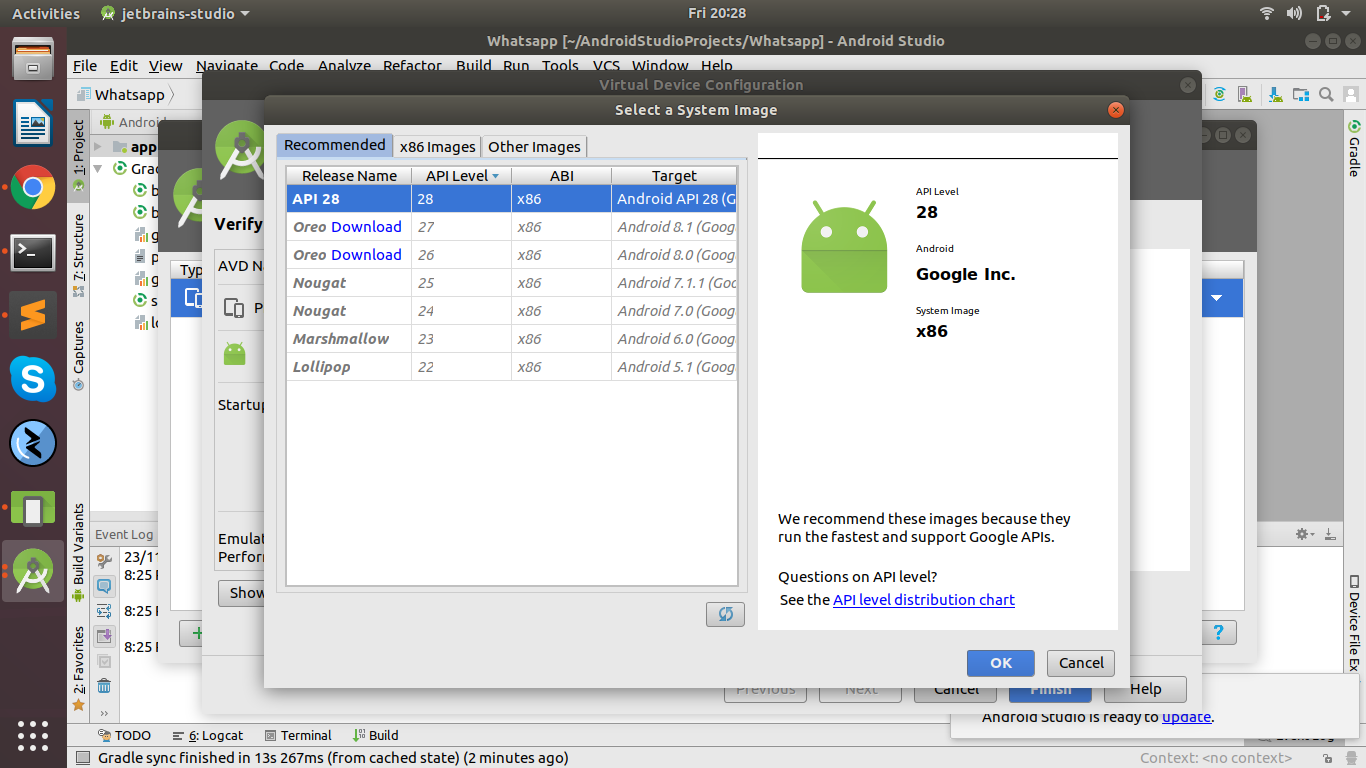
desired_caps['platformName'] = 'Android' desired_caps['platformVersion'] = '9' desired_caps['deviceName'] = 'emulator-5554' desired_caps['appPackage'] = 'com.whatsapp' desired_caps['appActivity'] = '.Main'
Android Version is Android-28