This project is a test implementation of "Deeply-Recursive Convolutional Network for Image Super-Resolution", CVPR2016 using tensorflow
Paper: ["Deeply-Recursive Convolutional Network for Image Super-Resolution"] (https://arxiv.org/abs/1511.04491) by Jiwon Kim, Jung Kwon Lee and Kyoung Mu Lee Department of ECE, ASRI, Seoul National University, Korea
Training highly deep CNN layers is so hard. However this paper makes it with some tricks like sharing filter weights and using intermediate outputs to suppress divergence in training. The model in the paper contains 20 CNN layers without no any max-pooling layers, I feel it's amazing.
🔴 I also build another SR model. It is faster and has better PSNR results. Please try this project also. https://github.com/jiny2001/dcscn-super-resolution 🔴
Those figures are from the paper. There are 3 different networks which cooperates to make images fine.


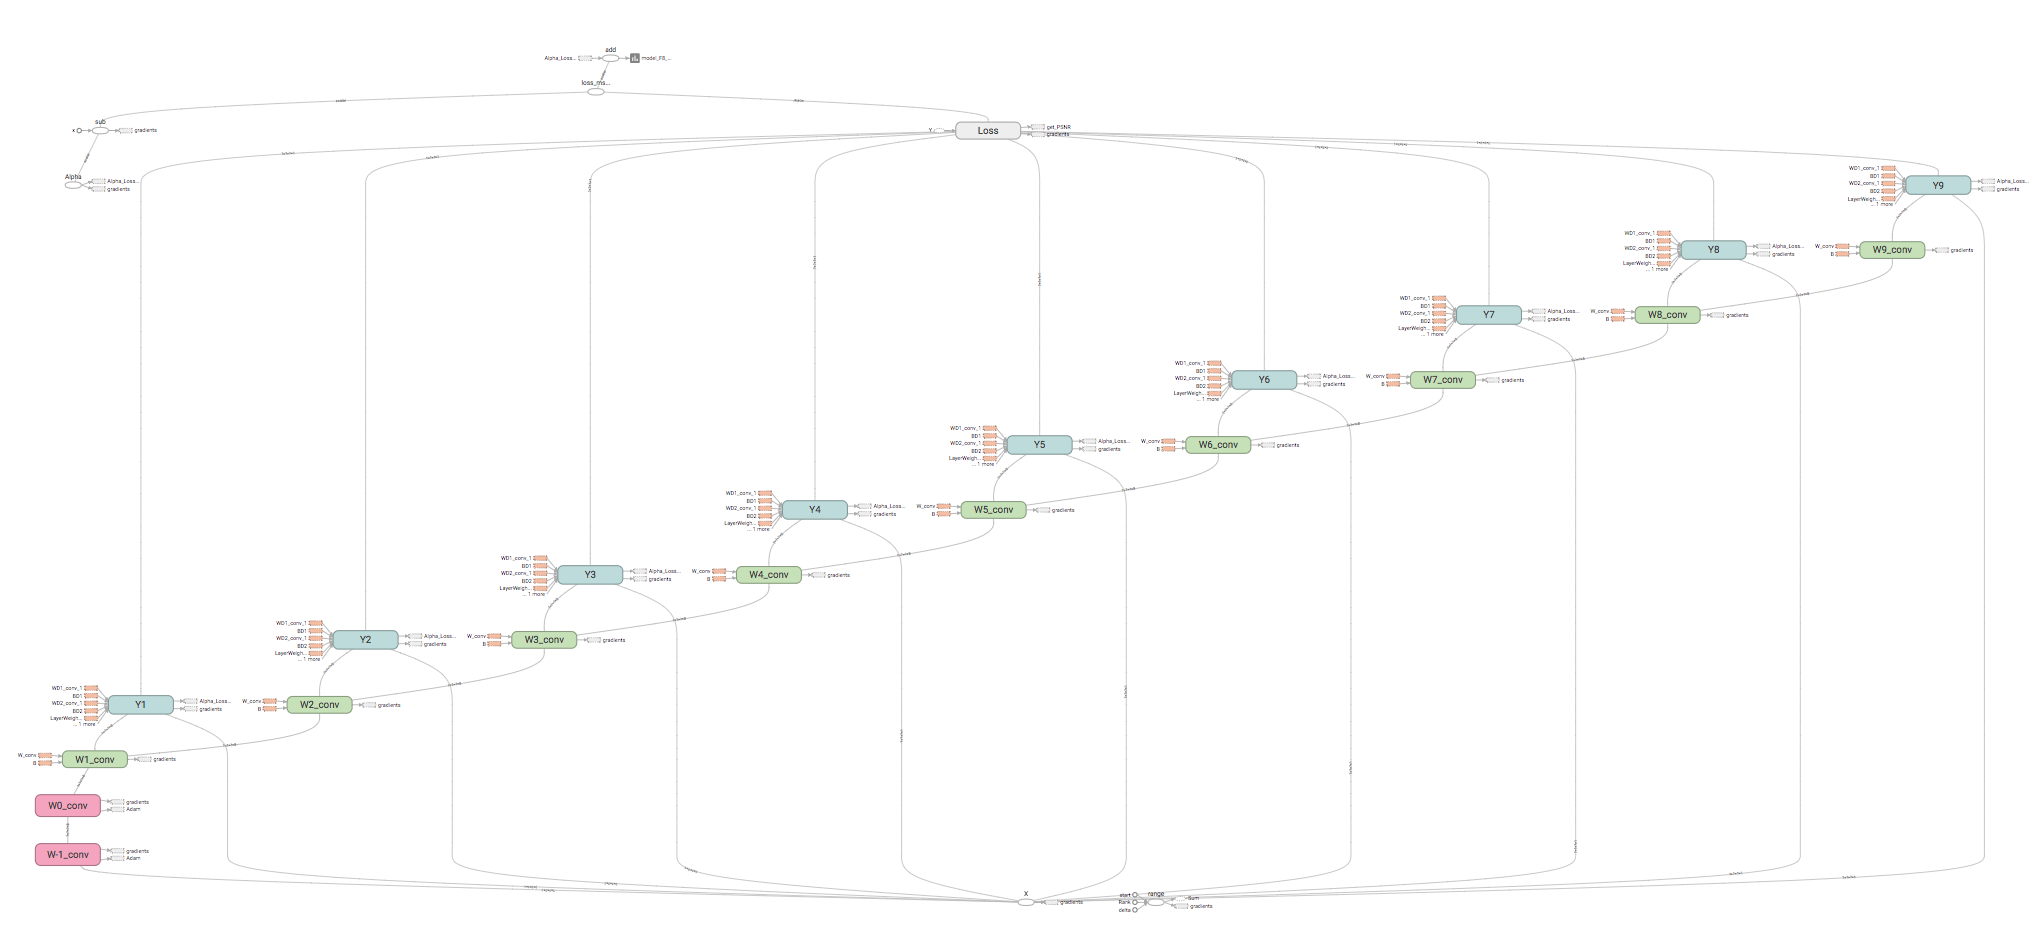
This model below is made by my code and drawn by tensorboard.
tensorflow, scipy, numpy and pillow
# train with default parameters and evaluate after training for Set5 (takes some hours to train with moderate-GPU)
python main.py

# training with simple model (will be good without GPU)
python main.py —-end_lr 1e-4 —-feature_num 32 -—inference_depth 5

# evaluation for set14 only (after training has done)
# [set5, set14, bsd100, urban100, all] are available. Please specify same model parameter with training.
python main.py -—dataset set14 --is_training False —-feature_num 32 -—inference_depth 5

# train for x4 scale images
python main.py —scale 4
# build augmented (right-left and up-down flipped) training set on SCSR2 folder
python augmentation.py
# train with augmented training data (will have a little better PSNR)
python main.py --training_set ScSR2
# train with your own training data (create directory under "data" and put your data files into it)
python main.py --training_set your_data_directory_nameNetwork graphs and weights / loss summaries are saved in tf_log directory.
Weights are saved in model directory.
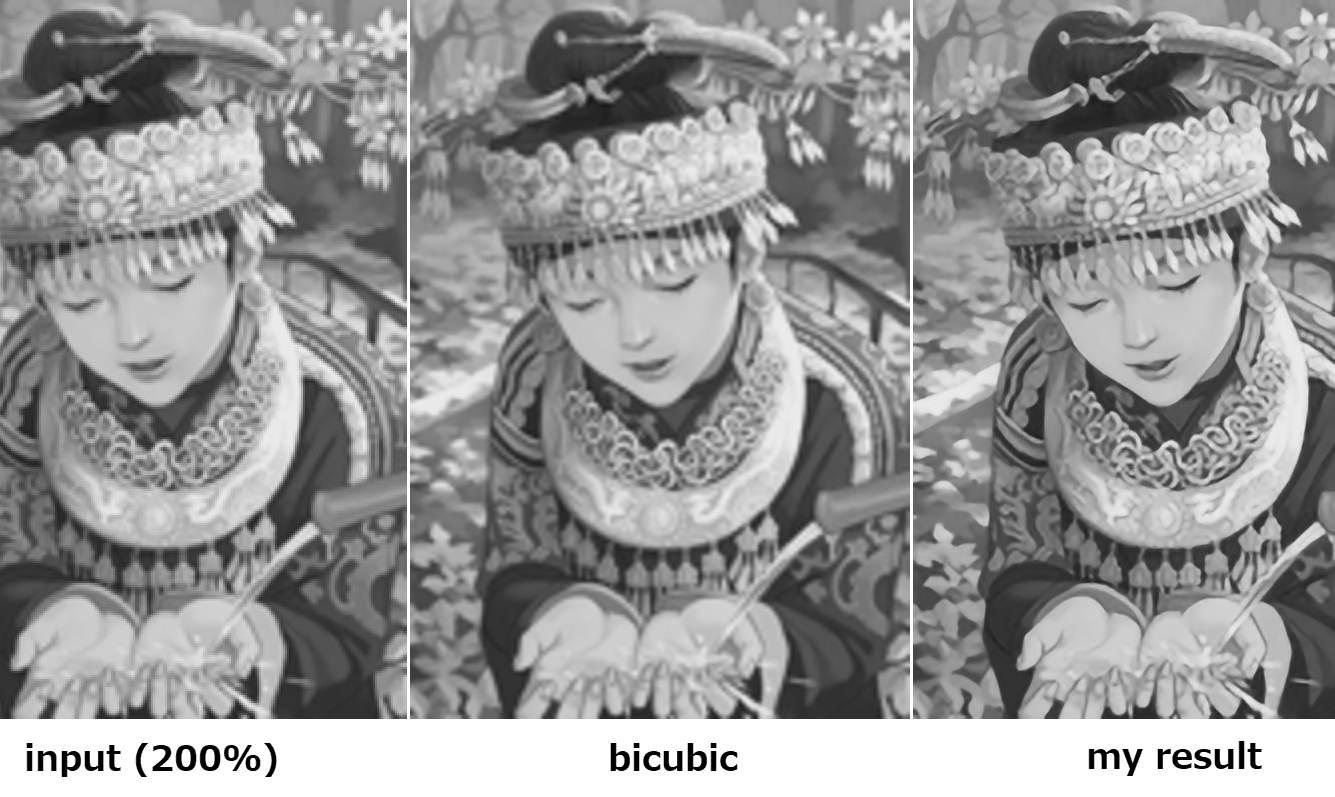
I use half num of features (128) to make training faster for those results below. Please check with original (100%) image size. (The results I got have a little less PSNR compared to their paper).
| DataSet | Bicubic | SRCN | SelfEx | My Result | DRCN |
|---|---|---|---|---|---|
| Set5 x2 | 33.66 | 36.66 | 36.49 | 37.31 | 37.63 |
| Set14 x2 | 30.24 | 32.42 | 32.22 | 32.85 | 33.04 |
| BSD100 x2 | 29.56 | 31.36 | 31.18 | 31.71 | 31.85 |
| Urban100 x2 | 26.88 | 29.50 | 29.54 | 30.01 | 30.75 |
I include learned weights for default parameters. default (features:96, inference layers depth:9) with larger dataset (ynag91+general100)x4 augmented.
You can output up-converted images to evaluate. Run below and check [output] folder.
# evaluating for [set5, set14, bsd100, urban100, all] is available
python main.py -—dataset set14 --is_training FalsePut your image file under my project directory and then try those commands below. Please note if you trained with your own parameters like "python3 main.py --inference_depth 5 --feature_num 64", you should use same parameters for test.py.
python test.py --file your_image_filename

#try with your trained model
python test.py --file your_image_filename --same_args_which_you_used_on_your_training blablaSome popular dataset images are already set in data folder.
for training:
for evaluation:
Some details are not shown in the paper and my guesses maybe not enough. My code's PSNR are about 0.5-1.0 lesser than paper's experiments results.
Thanks a lot for Assoc. Prof. Masayuki Tanaka at Tokyo Institute of Technology and Shigesumi Kuwashima at Viewplus inc.