This project is only tested on Ubuntu 16.04
AudioNet is an opensource experiment done using tensorflow and Google's Inception model. What we are doing here in AudioNet is, we are converting audio files to spectrograms. Then we are trainning the model with spectrograms of audio files. Instead of inventing something new we are trying to make use of what is available and yes it was a successfull experiment. Application of audio classification is limitless, speaker recognition, speech recognition are few of them. We will see how to create a speaker recognition using Inception.
Before we begin we need data to train the model. Just for our experiment we can download any speech of great people from youtube as mp3. I have written a script to convert mp3's to wav files and then to process the wav file to make spectrogram out of it. To continnue with this experiment ensure this file is downloaded and extracted and kept in same folder where scripts folder you have downloaded. If you are using your mp3 files please check whether it is dual channel or not. If not please convert it to dual channel by using sox command in terminal.
$ sox testmono.mp3 -c testdual.mp3Steps in our experiment:
In this step, first thing you have to do is to make seperate folders for each speaker and name the folder with speakers name. For example, if you have voice clips of Barrack Obama and APJ Abdul Kalam, then you have to make seperate folder for each person, one for obama and one for kalam. Then you have to put voice clips of each person in respective folders. And the voice clips should be in mp3. It will be better if the total time duration of all voice clips in a folder is same with all other folders. Once you have different folders for speakers, put that folder inside data_audio folder in tf_files folder.
Now we are good to run the data_maker.py script in scripts folder. Open up a terminal in scripts folder and enter python data_maker.py
$ cd scripts
$ python data_maker.py
For running this script successfully you should have below packages installed in your machine.
After running the script successfully you just go to each folders of speakers inside tf_files/data_audio/ , you might be able to observe the voice clips which where in mp3 have been converted to wav files and the wav files have been divided into 20 seconds chunks and for each chunks there is a spectrogram jpg image. This is our training data. If you want you can go to the data_maker script and change the time duration of chunks.
As I already mentioned, we are using Google's Inception model. Run below commands to start training.
$ cd scripts
$ IMAGE_SIZE=224
$ ARCHITECTURE="inception_v3"
$ python retrain.py   --bottleneck_dir=../tf_files/bottlenecks  \
        --how_many_training_steps=500  \
        --model_dir=../tf_files/models/   \
        --summaries_dir=../tf_files/training_summaries/"${ARCHITECTURE}"   \
        --output_graph=../tf_files/retrained_graph.pb   \
        --output_labels=../tf_files/retrained_labels.txt   \
        --architecture="${ARCHITECTURE}"   \
        --image_dir=../tf_files/data_audio
You can increase the number of training steps if you want.
Get a voice clip of the speaker and generate spectrogram of his voice using data_maker.py script or Audio2Spectrogram. Then try testing the model by running below commands
$ cd scripts
$ python label_image.py \
    --graph=../tf_files/retrained_graph.pb  \
    --labels=../tf_files/retrained_labels.txt  \
    --image=../path/to/generated/spectrogram.jpg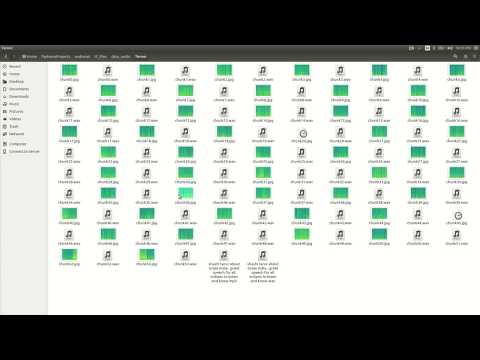
For any queries shoot a mail at ksvishnu56@gmail.com. Visit my blog too..