NOTE: This repo is outdated and no longer updated.
This repo is regrouping some of of the most used CNN, pre-trained on the ImageNet Dataset, all of them implemented in Keras framework :
We also propose a heatmap option, which allow to detect the location of an object from a given synset.
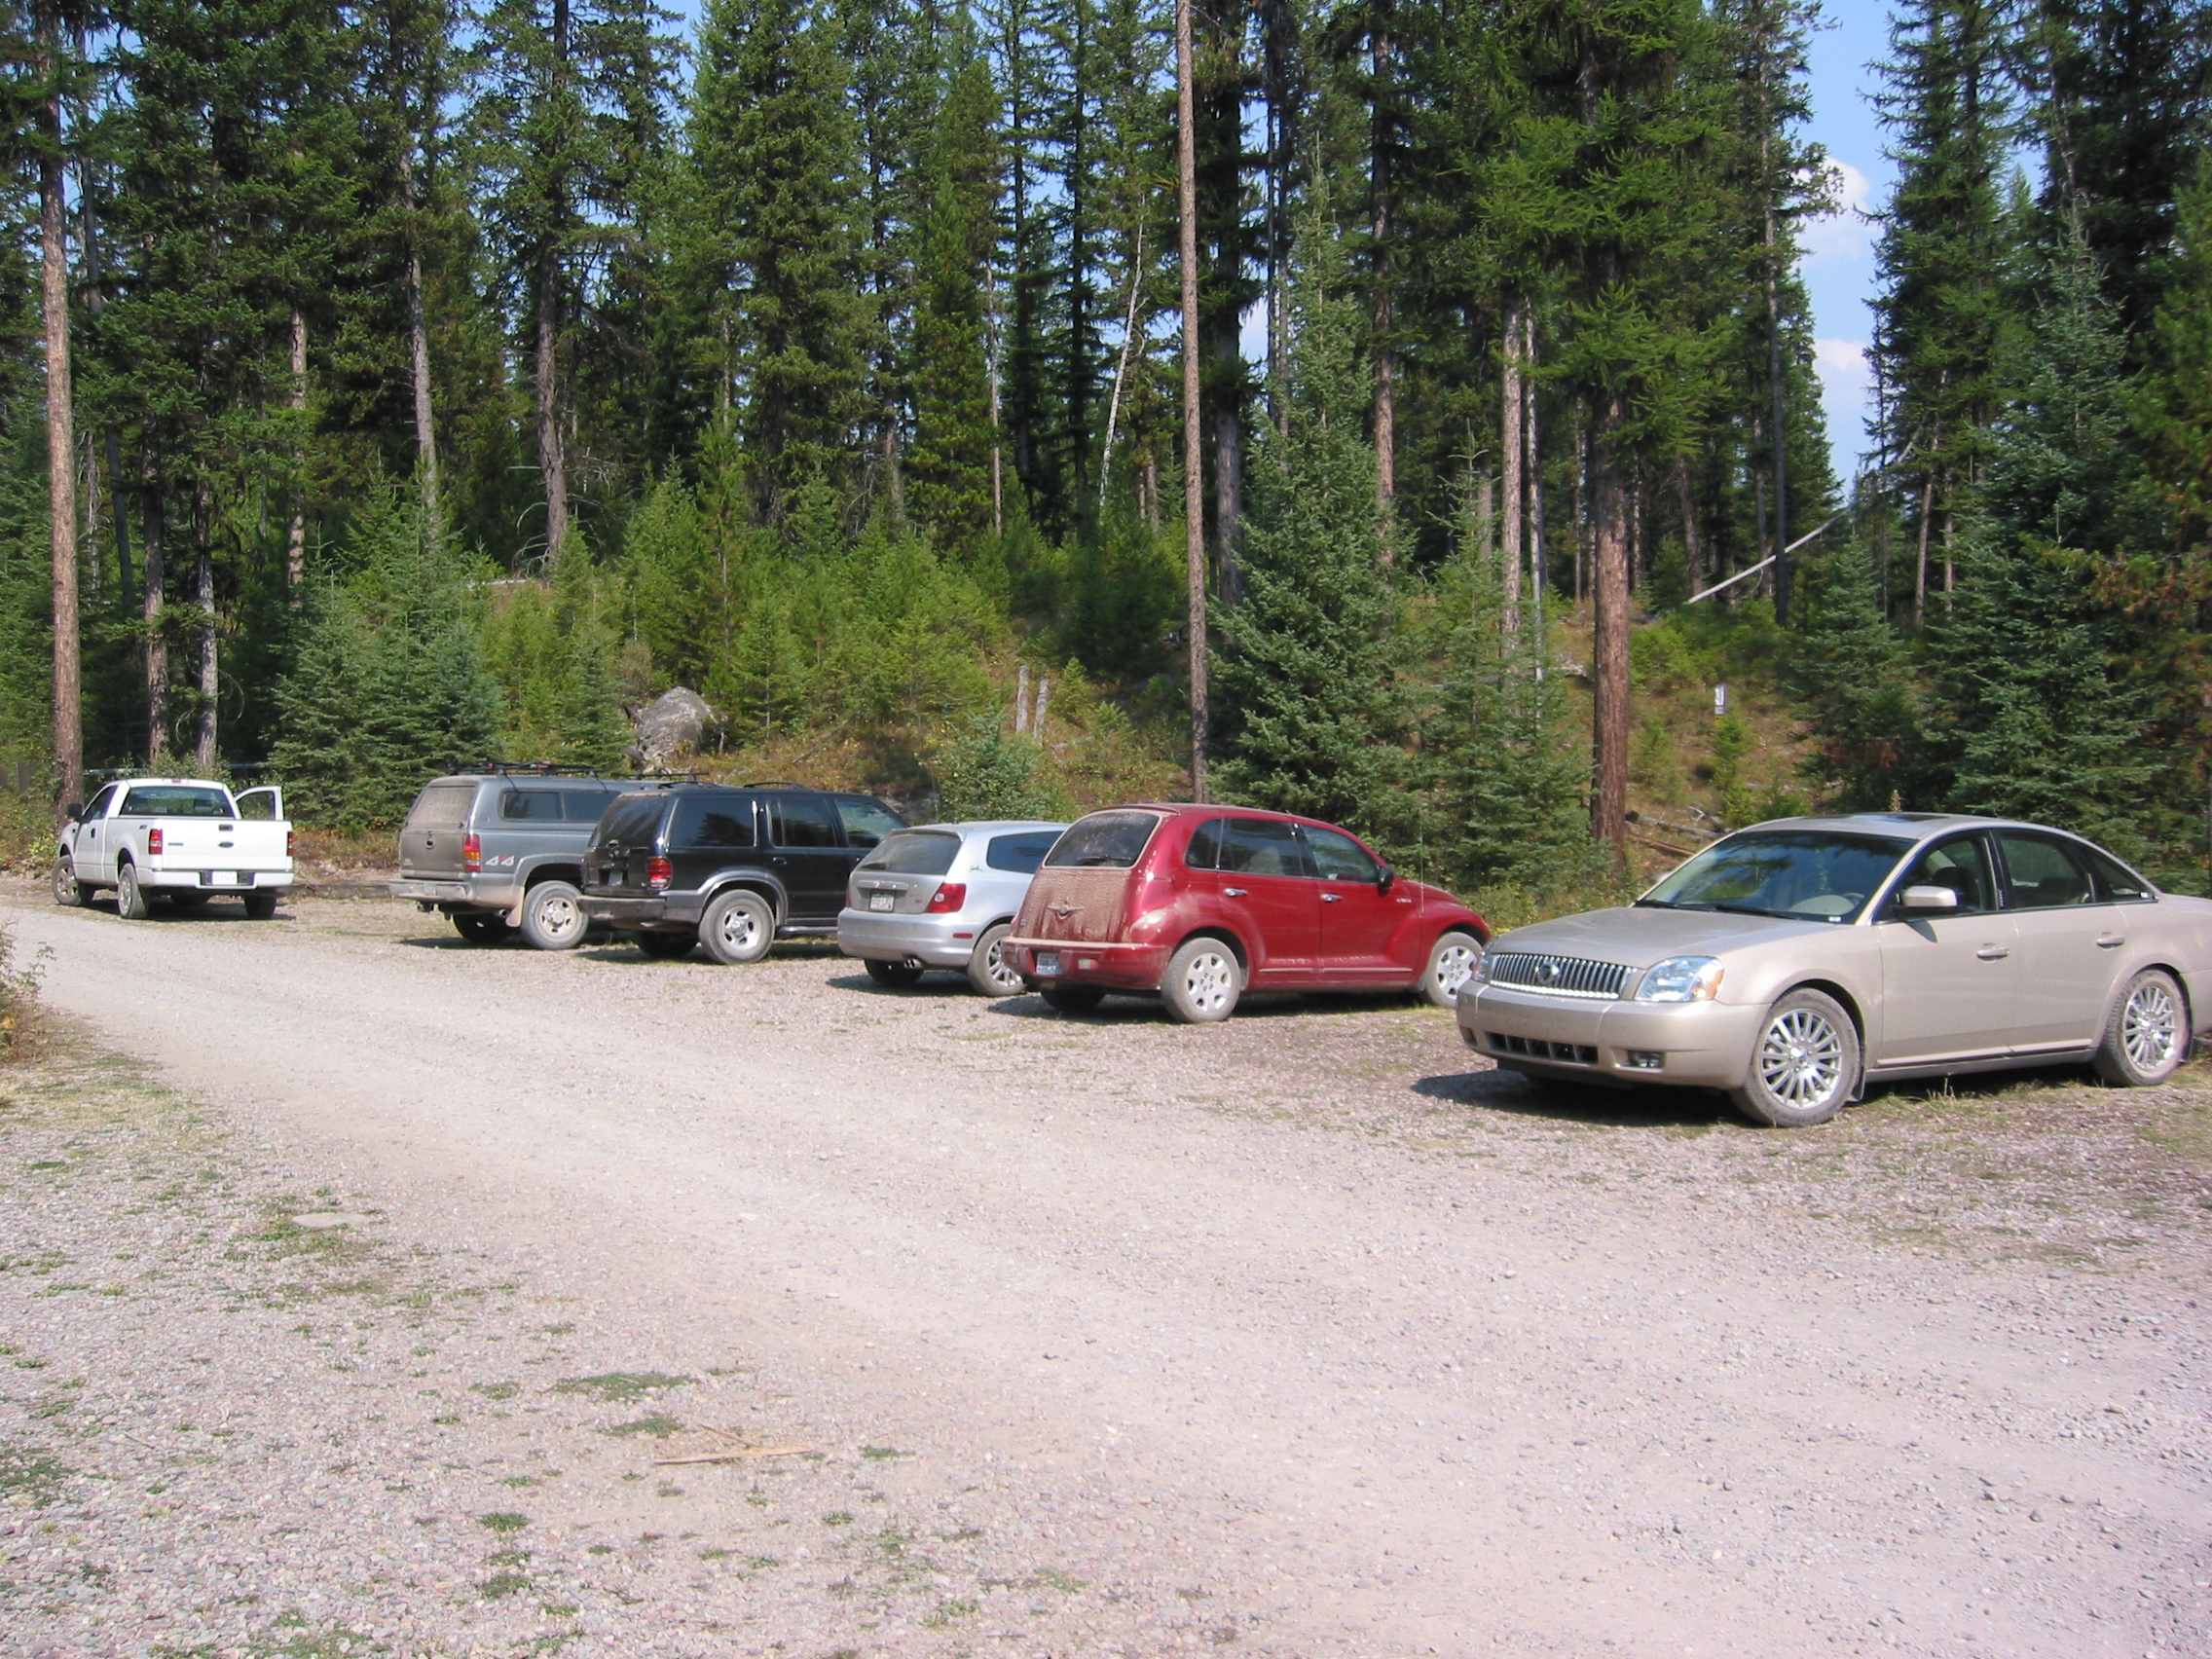
Here, we detect all the objects linked to the synsets cars, and we produce a heatmap :

The only dependencies are h5py, Theano and Keras. Run the following commands
pip install --user cython h5py
pip install --user git+https://github.com/Theano/Theano.git
pip install --user git+https://github.com/fchollet/keras.git
Then, you need to install the convnetskeras module :
git clone https://github.com/heuritech/convnets-keras.git
cd convnets-keras
sudo python setup.py installThe weights can be found here :
BEWARE !! : Since the networks have been trained in different settings, the preprocessing is different for the differents networks :
from keras.optimizers import SGD
from convnetskeras.convnets import preprocess_image_batch, convnet
im = preprocess_image_batch(['examples/dog.jpg'],img_size=(256,256), crop_size=(227,227), color_mode="rgb")
sgd = SGD(lr=0.1, decay=1e-6, momentum=0.9, nesterov=True) model = convnet('alexnet',weights_path="weights/alexnet_weights.h5", heatmap=False) model.compile(optimizer=sgd, loss='mse')
out = model.predict(im)
* For the VGG, the images (for the mode without the heatmap) have to be of shape (224,224). It is recommended to resize the images with a size of (256,256), and then do a crop of size (224,224). The colors are in BGR order.
```python
from keras.optimizers import SGD
from convnetskeras.convnets import preprocess_image_batch, convnet

im = preprocess_image_batch(['examples/dog.jpg'],img_size=(256,256), crop_size=(224,224), color_mode="bgr")

sgd = SGD(lr=0.1, decay=1e-6, momentum=0.9, nesterov=True)
## For the VGG16, use this command
model = convnet('vgg_16',weights_path="weights/vgg16_weights.h5", heatmap=False)
## For the VGG19, use this one instead
# model = convnet('vgg_19',weights_path="weights/vgg19_weights.h5", heatmap=False)
model.compile(optimizer=sgd, loss='mse')

out = model.predict(im)
The errors are tested on ImageNet validation set. The prediction time is computed on a GeForce GTX TITAN X, with a Theano backend, and a batch size of 64.
AlexNet has lower results than the two VGGs, but it is much more lighter and faster, so it can easily be run on a small GPU (like on AWS), or even on a CPU.
Networks                            | AlexNet     |     VGG16   |     VGG19   |
-------------------------------------------------------------------------------
Top 1 Error                         |   42,94%    |   32,93%    |   32,77%    |
Top 5 error                         |   20,09%    |   12,39%    |   12,17%    |
Top 10 error                        |   13,84%    |    7,77%    |    7,80%    |
Number of params                    |     61M     |     138M    |     144M    |
Prediction time, batch of 64 (GPU)  |   0.4101s   |   0.9645s   |   1.0370s   |
Prediction time, single image (CPU) | 0.6773s | 1.3353s | 1.5722s |The heatmap are produced by converting the model into a fully convolutionize model. The fully connected layers are transformed into convolution layers (by using the same weights), so we are able to compute the output of the network on each sub-frame of size (227,227) (or (224,224)) of a bigger picture. This produces a heatmap for each label of the classifier.
Using the heatmap is almost the same thing than directly classify. We suppose that we want the heatmap of the all the synsets linked with dogs, which are all the children in Wordnet of the synset "n02084071" (see next section to know how to find how we can get all the labels linked with a given synset) :
from keras.optimizers import SGD
from convnetskeras.convnets import preprocess_image_batch, convnet
from convnetskeras.imagenet_tool import synset_to_dfs_ids

im = preprocess_image_batch(['examples/dog.jpg'], color_mode="bgr")

sgd = SGD(lr=0.1, decay=1e-6, momentum=0.9, nesterov=True)
model = convnet('alexnet',weights_path="weights/alexnet_weights.h5", heatmap=True)
model.compile(optimizer=sgd, loss='mse')

out = model.predict(im)

s = "n02084071"
ids = synset_to_dfs_ids(s)
heatmap = out[0,ids].sum(axis=0)

# Then, we can get the image
import matplotlib.pyplot as plt
plt.imsave("heatmap_dog.png",heatmap)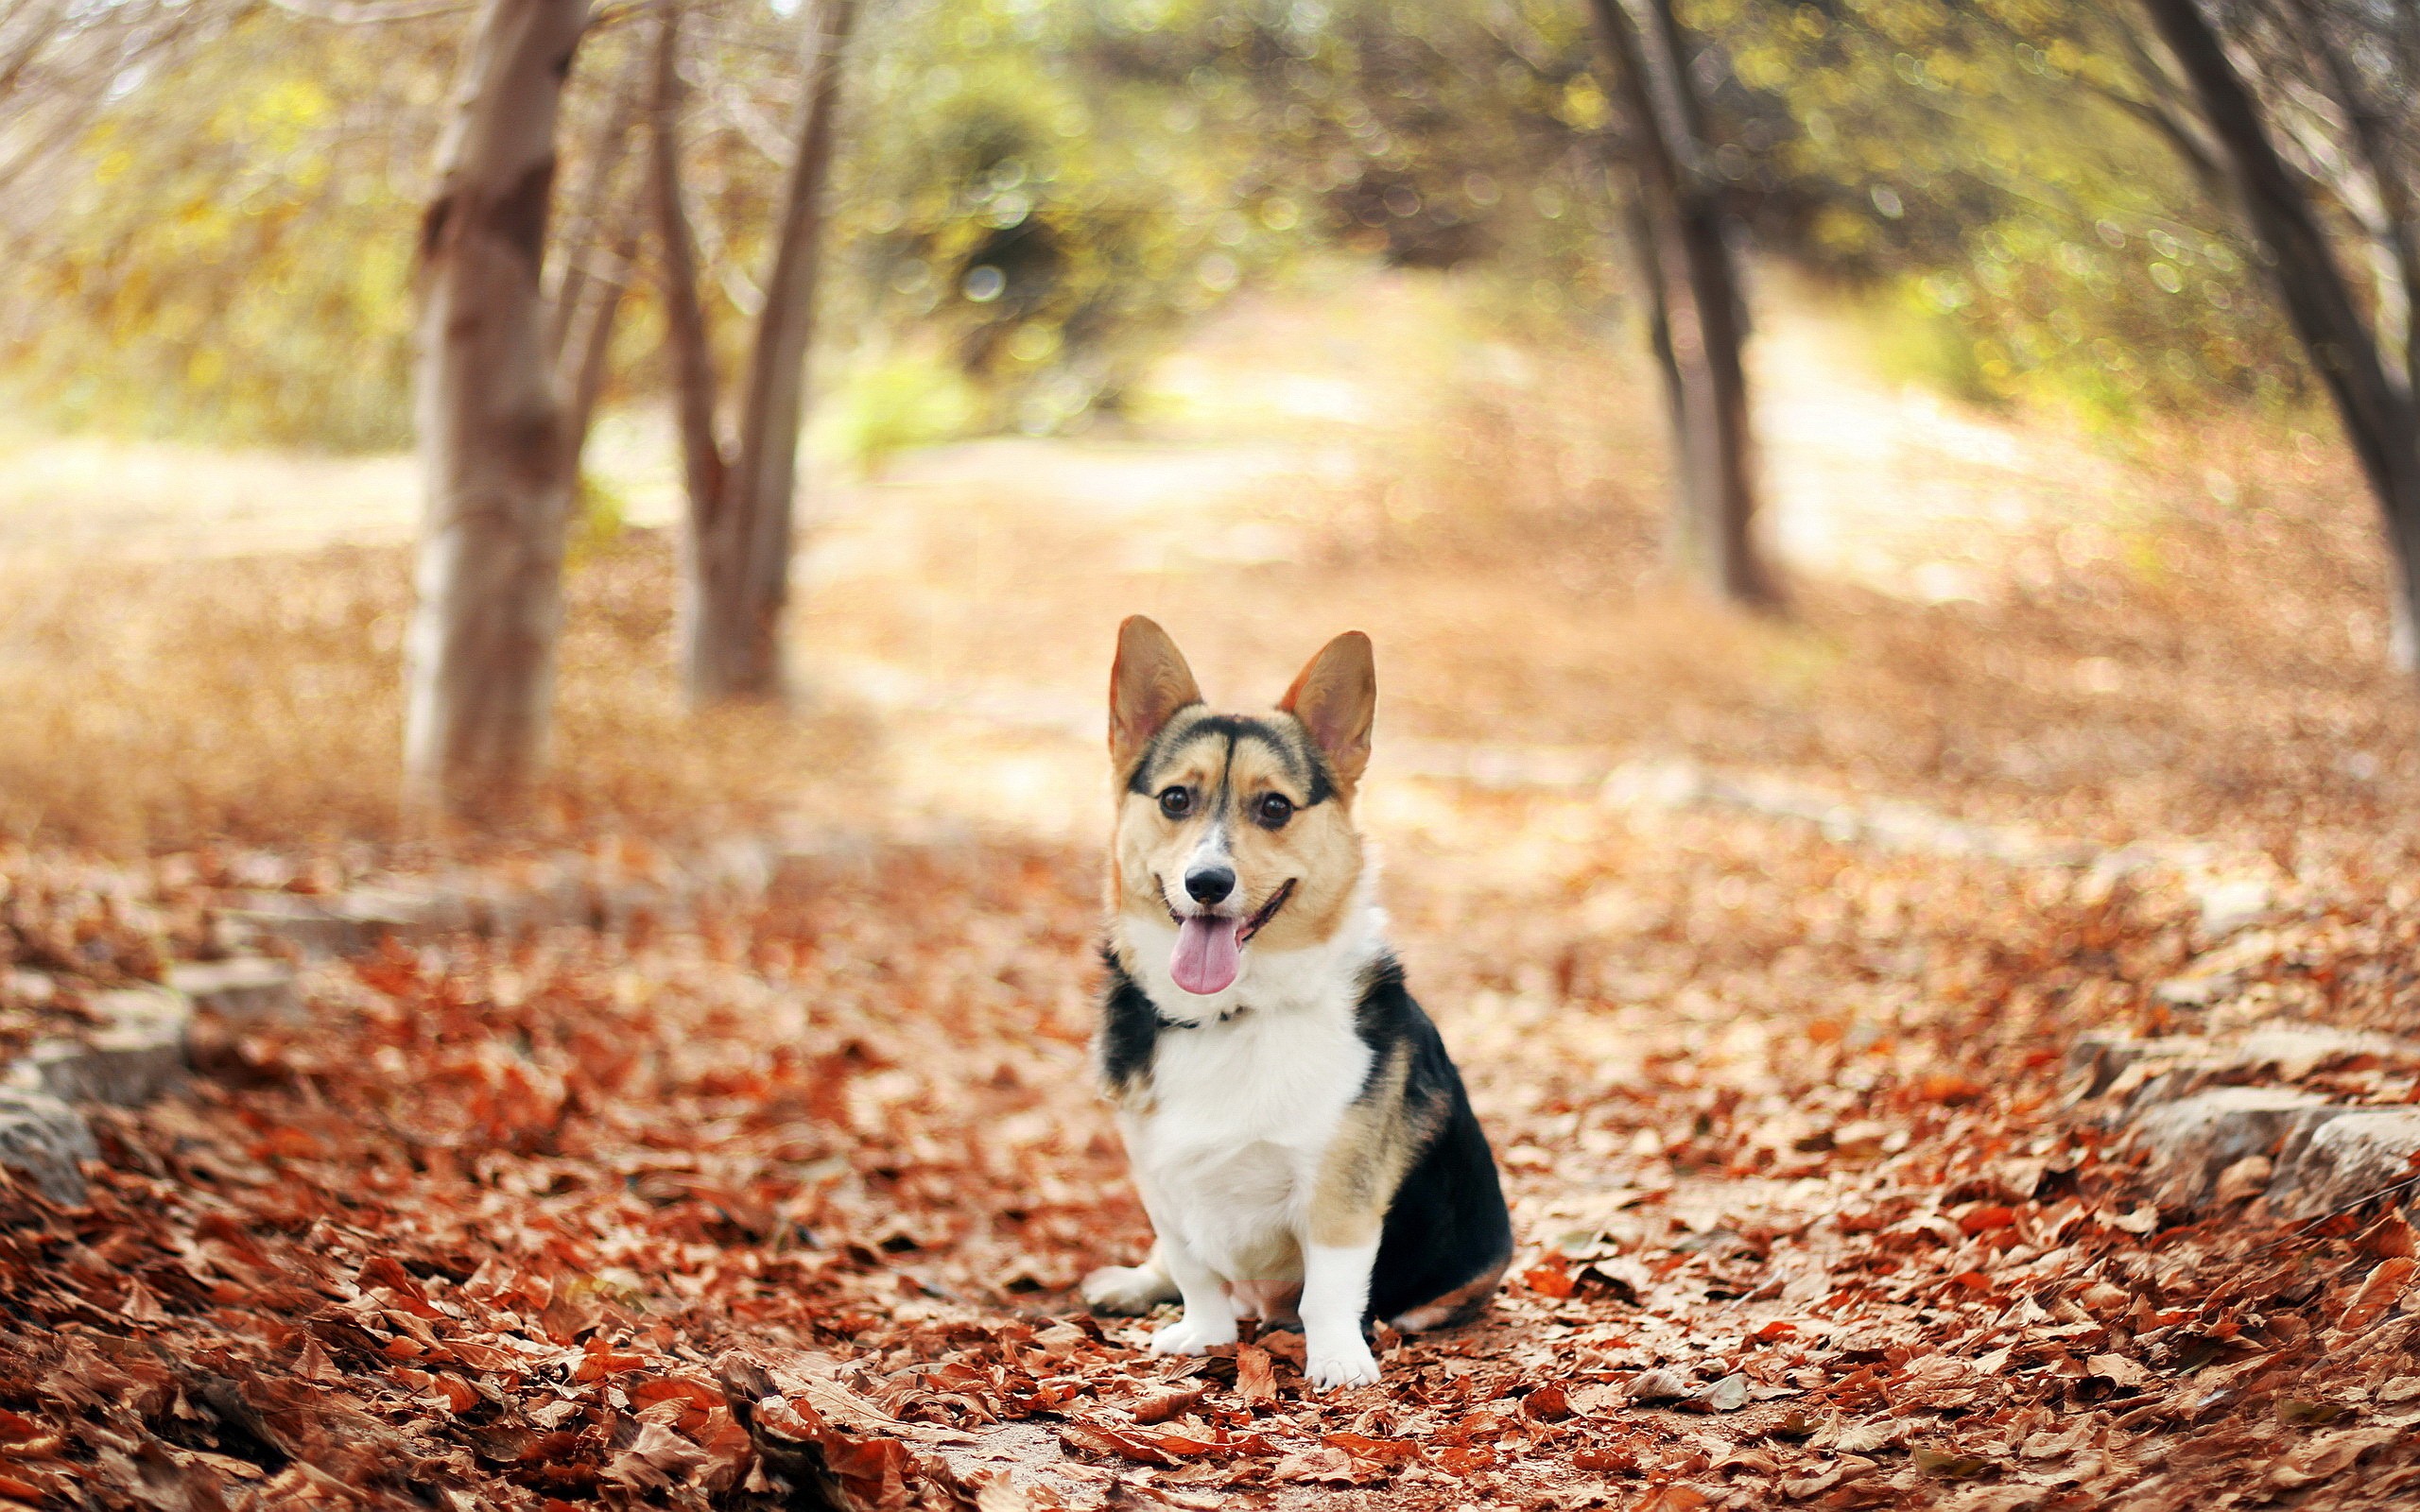

We propose a few utils function to link the index returned by the networks, and the synsets of ImageNet.
It can be usefull to use the ids of ImageNet (which can be found on this page , if you want to know the meaning of the classification.
We have two functions : id_to_synset and synset_to_id
id_to_synset is taking an id of the output of the networks, and returning the WordNet synset
>>> from convnetskeras.imagenet_tool import id_to_synset
>>> id_to_synset(243)
'n03793489'If you want to detect all cars, you might need to have a classification of higher level than the one given by the wordnets of ImageNet. Indeed, a lot of different synsets are present for different kinds of cars. We can then choose a synset in the tree, and select all the ids of its children :
>>>synset_to_dfs_ids("n04576211")
[670, 870, 880, 444, 671, 565, 705, 428, 791, 561, 757, 829, 866, 847, 547, 820, 408, 573, 575, 803, 407, 436, 468, 511, 609, 627, 656, 661, 751, 817, 665, 555, 569, 717, 864, 867, 675, 734, 656, 586, 847, 802, 660, 603, 612, 690]For the AlexNet network, we have adapted the weights that can be found here : Taylor, Graham; Ding, Weiguang, 2015-03, "Theano-based large-scale visual recognition with multiple GPUs", hdl:10864/10911 University of Guelph Research Data Repository
For the VGG networks, we have adapted the code released by baraldilorenzo here : https://gist.github.com/baraldilorenzo/07d7802847aaad0a35d3 We changed it to have the "heatmap" option, and we modified the weights in the same way.