Hover is a floating menu implementation for Android.
The goals of Hover are to:
Provide an easy-to-use, out-of-the-box floating menu implementation for Android developers, and
Provide common tools for Android developers to create their own floating menu.
Hover is still under heavy development. There is still a lot of code cleanup to do, so expect breaking API changes over time.
That said, Hover should be in a usable state at this time.
Version 0.9.8 introduces major breaking changes to Hover. This refactor was done to simplify the code structure to make it easier to fix existing bugs and further extend behavior.
0.9.8 also introduces a number of bug fixes, behavior improvements, and Android O alterations:
There is still code to clean, but hopefully no further refactor of this scale will be necessary.
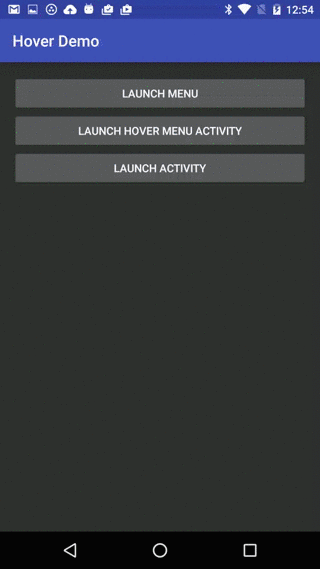
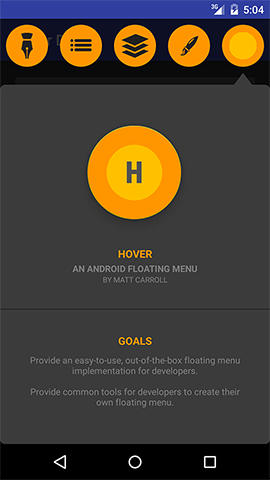
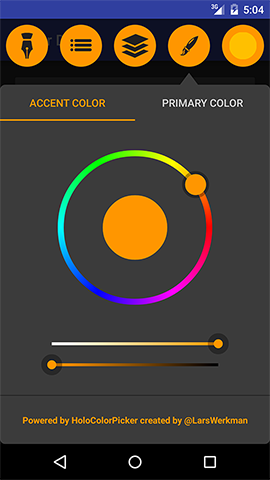
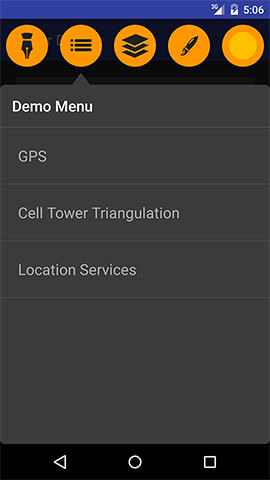
A demo app (called Kitchen Sink) is included with the Hover repo. Here are some screenshots of the demo in action.


To get started with Hover, create a subclass of HoverMenuService to host your Hover menu. Implement onHoverMenuLaunched(Intent, HoverView) to take control of your HoverView. You'll want to set it's HoverMenu, and also start it in the collapsed or expanded state:
public class MyHoverMenuService extends HoverMenuService {

    @Override
    protected void onHoverMenuLaunched(@NonNull Intent intent, @NonNull HoverView hoverView) {
        // Configure and start your HoverView.
        HoverMenu menu = ...;
        hoverView.setMenu(menu);
        hoverView.collapse();
    }

}A HoverMenu is the content that appears within a HoverView. A HoverMenu is divided into an ordered list of Sections. Each Section has a tab as well as Content that appear in your HoverView.
public class MyHoverMenu extends HoverMenu {

    private Context mContext;
    private Section mSection;

    private SingleSectionHoverMenu(@NonNull Context context) {
        mContext = context;

        mSection = new Section(
                new SectionId("1"),
                createTabView(),
                createScreen()
        );
    }

    private View createTabView() {
        ImageView imageView = new ImageView(mContext);
        imageView.setImageResource(R.drawable.tab_background);
        imageView.setScaleType(ImageView.ScaleType.CENTER_INSIDE);
        return imageView;
    }

    private Content createScreen() {
        return new MyContent(mContext, "Screen 1");
    }

    @Override
    public String getId() {
        return "singlesectionmenu";
    }

    @Override
    public int getSectionCount() {
        return 1;
    }

    @Nullable
    @Override
    public Section getSection(int index) {
        if (0 == index) {
            return mSection;
        } else {
            return null;
        }
    }

    @Nullable
    @Override
    public Section getSection(@NonNull SectionId sectionId) {
        if (sectionId.equals(mSection.getId())) {
            return mSection;
        } else {
            return null;
        }
    }

    @NonNull
    @Override
    public List<Section> getSections() {
        return Collections.singletonList(mSection);
    }

}If you want to create your own Hover Service from scratch, or if you want to experiment with a HoverView directly, you can instantiate one yourself.
// Create a HoverView to display in a Window:
HoverView hoverView = HoverView.createForWindow(
        context,
        new WindowViewController(
            (WindowManager) getSystemService(Context.WINDOW_SERVICE)
        )
);
hoverView.setOnExitListener(onExitListener);
hoverView.addToWindow();
hoverView.setMenu(...);
hoverView.collapse();

// Create a HoverView to display in a View hierarchy:
HoverView hoverView = HoverView.createForView(context);
viewGroup.addView(hoverView);
hoverView.setOnExitListener(onExitListener);
hoverView.setMenu(...);
hoverView.collapse();

// Create a HoverView in XML:
<io.mattcarroll.hover.HoverView
    xmlns:android="http://schemas.android.com/apk/res/android"
    xmlns:hover="http://schemas.android.com/apk/res-auto"
    android:id="@+id/hovermenu"
    android:layout_width="match_parent"
    android:layout_height="match_parent"
    hover:dockSide="right"
    hover:dockPosition="70%"
/>Hover is available through jCenter:
implementation 'io.mattcarroll.hover:hover:0.9.8'When Hover is used within a Window, there is always a fullscreen View - even when nothing is visible. This is done to dramatically simplify the layout logic. However, this causes problems when apps request runtime permissions because the Android OS complains that an overlay is visible.
There is no built-in solution for this problem at this time. You should take care to destroy your Hover Service when the HoverView is closed. You may also want to inform the users of your app that issues with runtime permission dialogs might occur, and that those users should exit your Hover menu if problems occur.
This is not an official Google product.
Copyright (C) 2016 Nest Labs

Licensed under the Apache License, Version 2.0 (the "License");
you may not use this file except in compliance with the License.
You may obtain a copy of the License at

    http://www.apache.org/licenses/LICENSE-2.0

Unless required by applicable law or agreed to in writing, software
distributed under the License is distributed on an "AS IS" BASIS,
WITHOUT WARRANTIES OR CONDITIONS OF ANY KIND, either express or implied.
See the License for the specific language governing permissions and
limitations under the License.