If you are running a blog and use Google Adsense to monetize your blog. You may know that there are many ways to improve the performance of Adsense. This article demonstrates how to make the blog font to be like Google Adsense font, so that the ads looks like a part of the content. I assume you have basic knowledge of CSS and HTML, and you are using WordPress.
Google Adsense offers 8 different kinds of font families, such as Open Sans, Open Sans Light, Roboto Light, Ubuntu Light, Lori, etc. I have tried all of them, Roboto Light performs the best for my site. Actually, it is the default font family if “Default font family” is chosen. The following will show how to set up Roboto font for WordPress blogs.
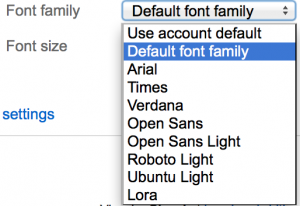
Step 1 – Identify the Font Family Google Adsense Uses
You can choose the font family in your Google Adsense account like the following:
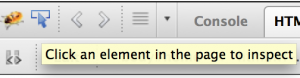
In addition, you want to know the size, line spacing, height, and weight properties of the font. So you may want to install firebug plug-in. It is available for both Chrome and Firefox. You can inspect the font style of the pointed elements.
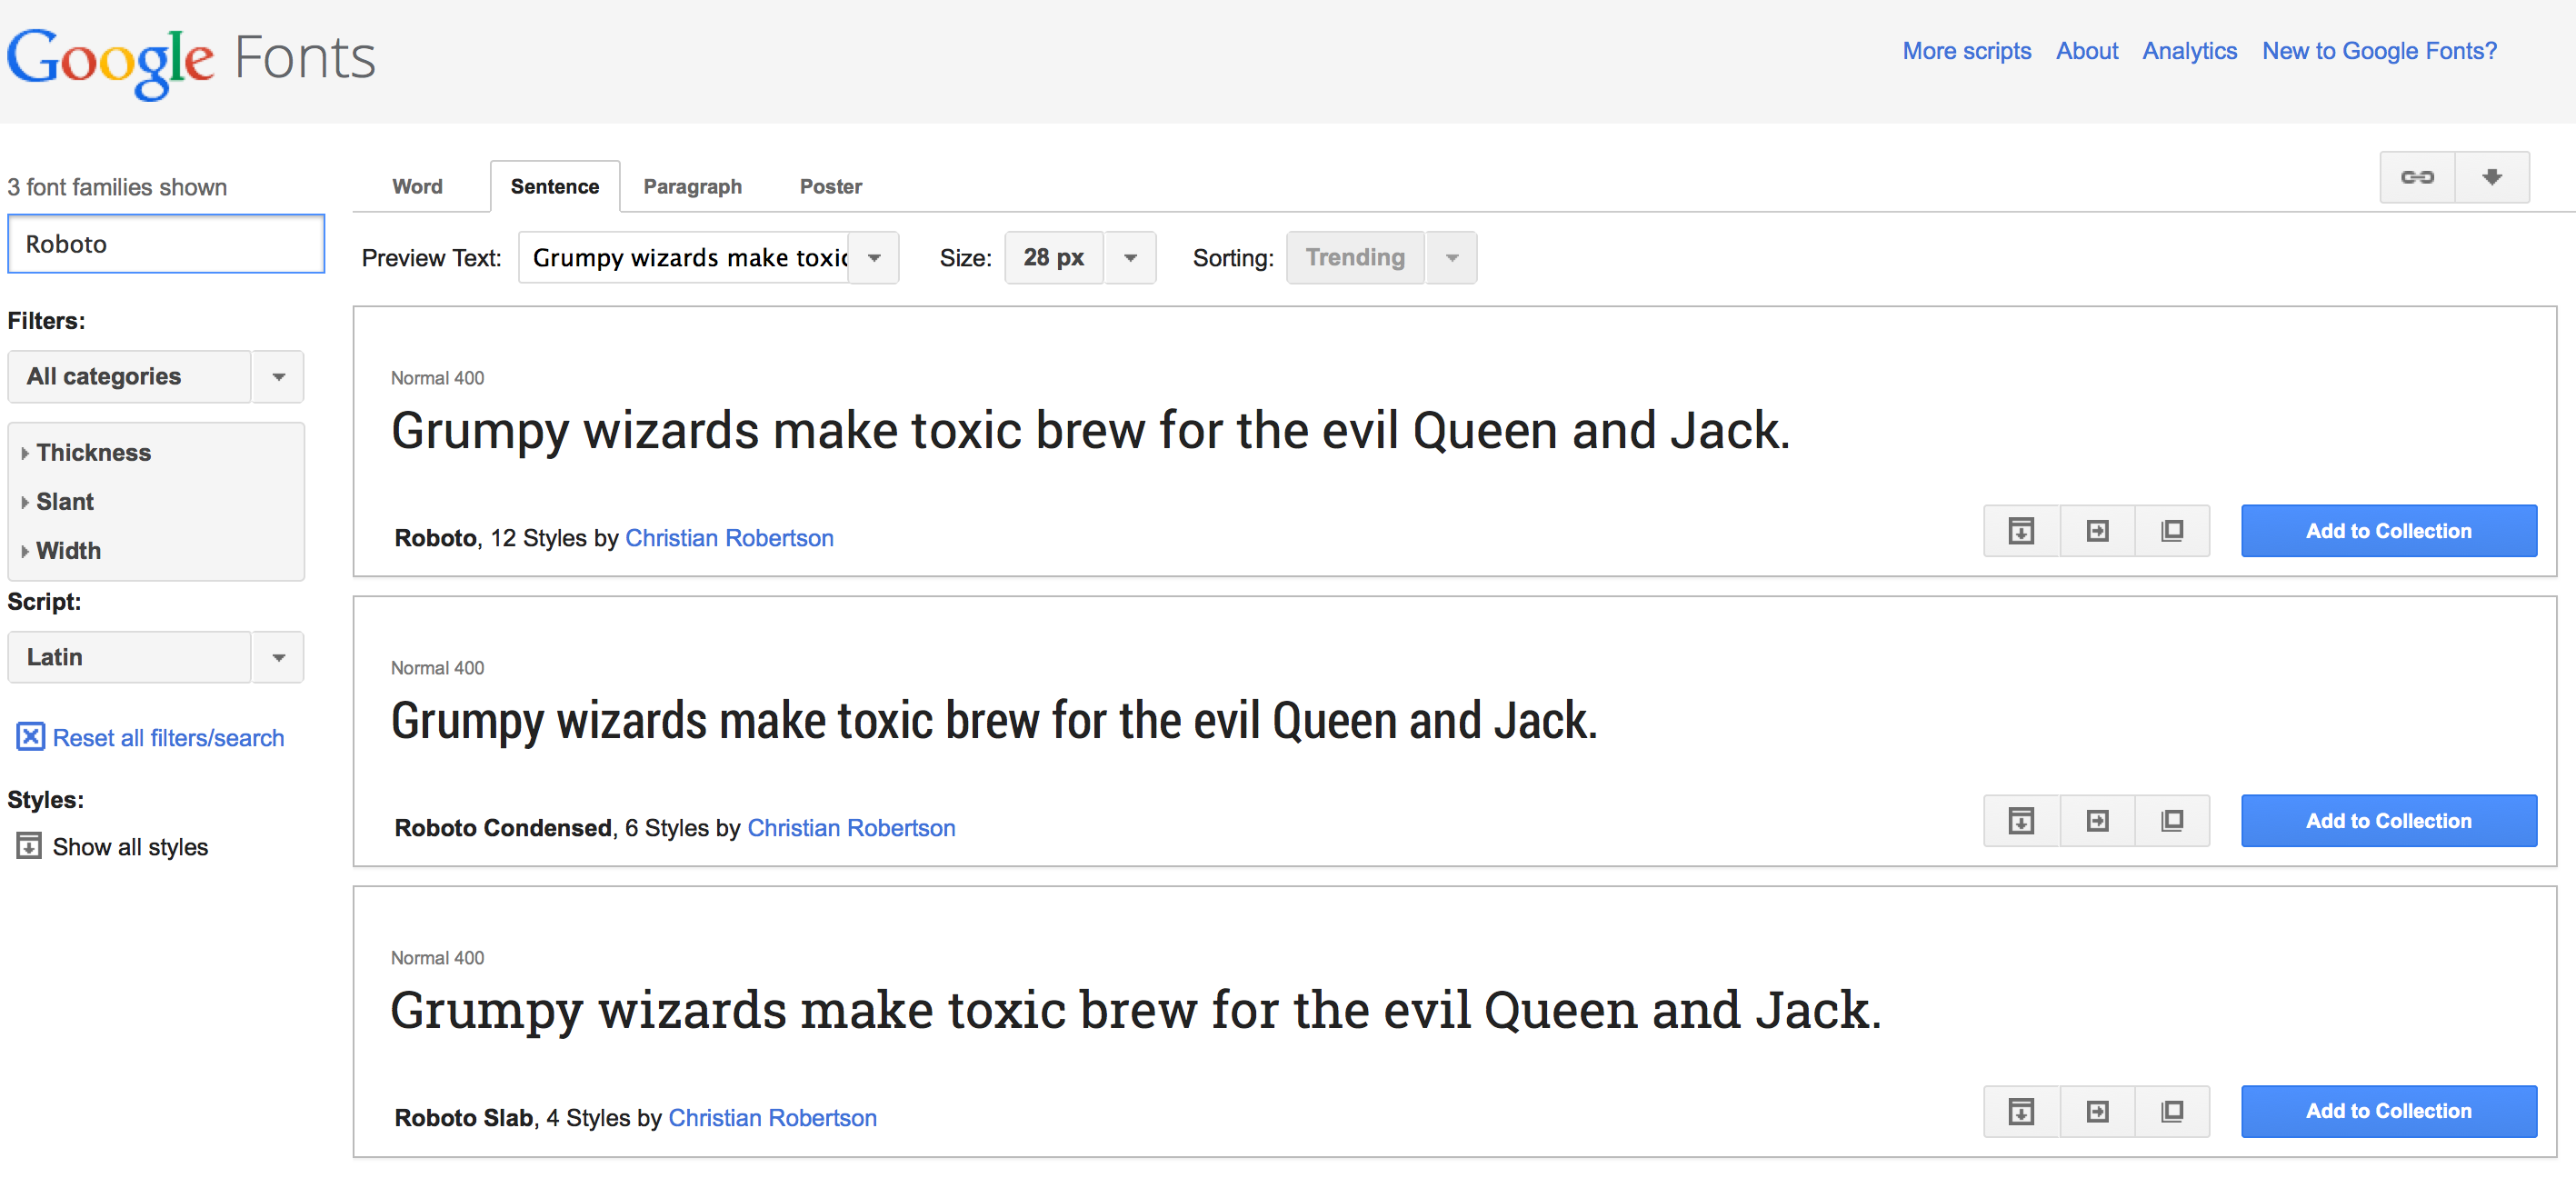
Step 2 – Get the Font from Google Fonts Website
All Adsense fonts, or similar fonts, can be found on Google fonts site: https://www.google.com/fonts
Go to Google Fonts site and Search “Roboto”:
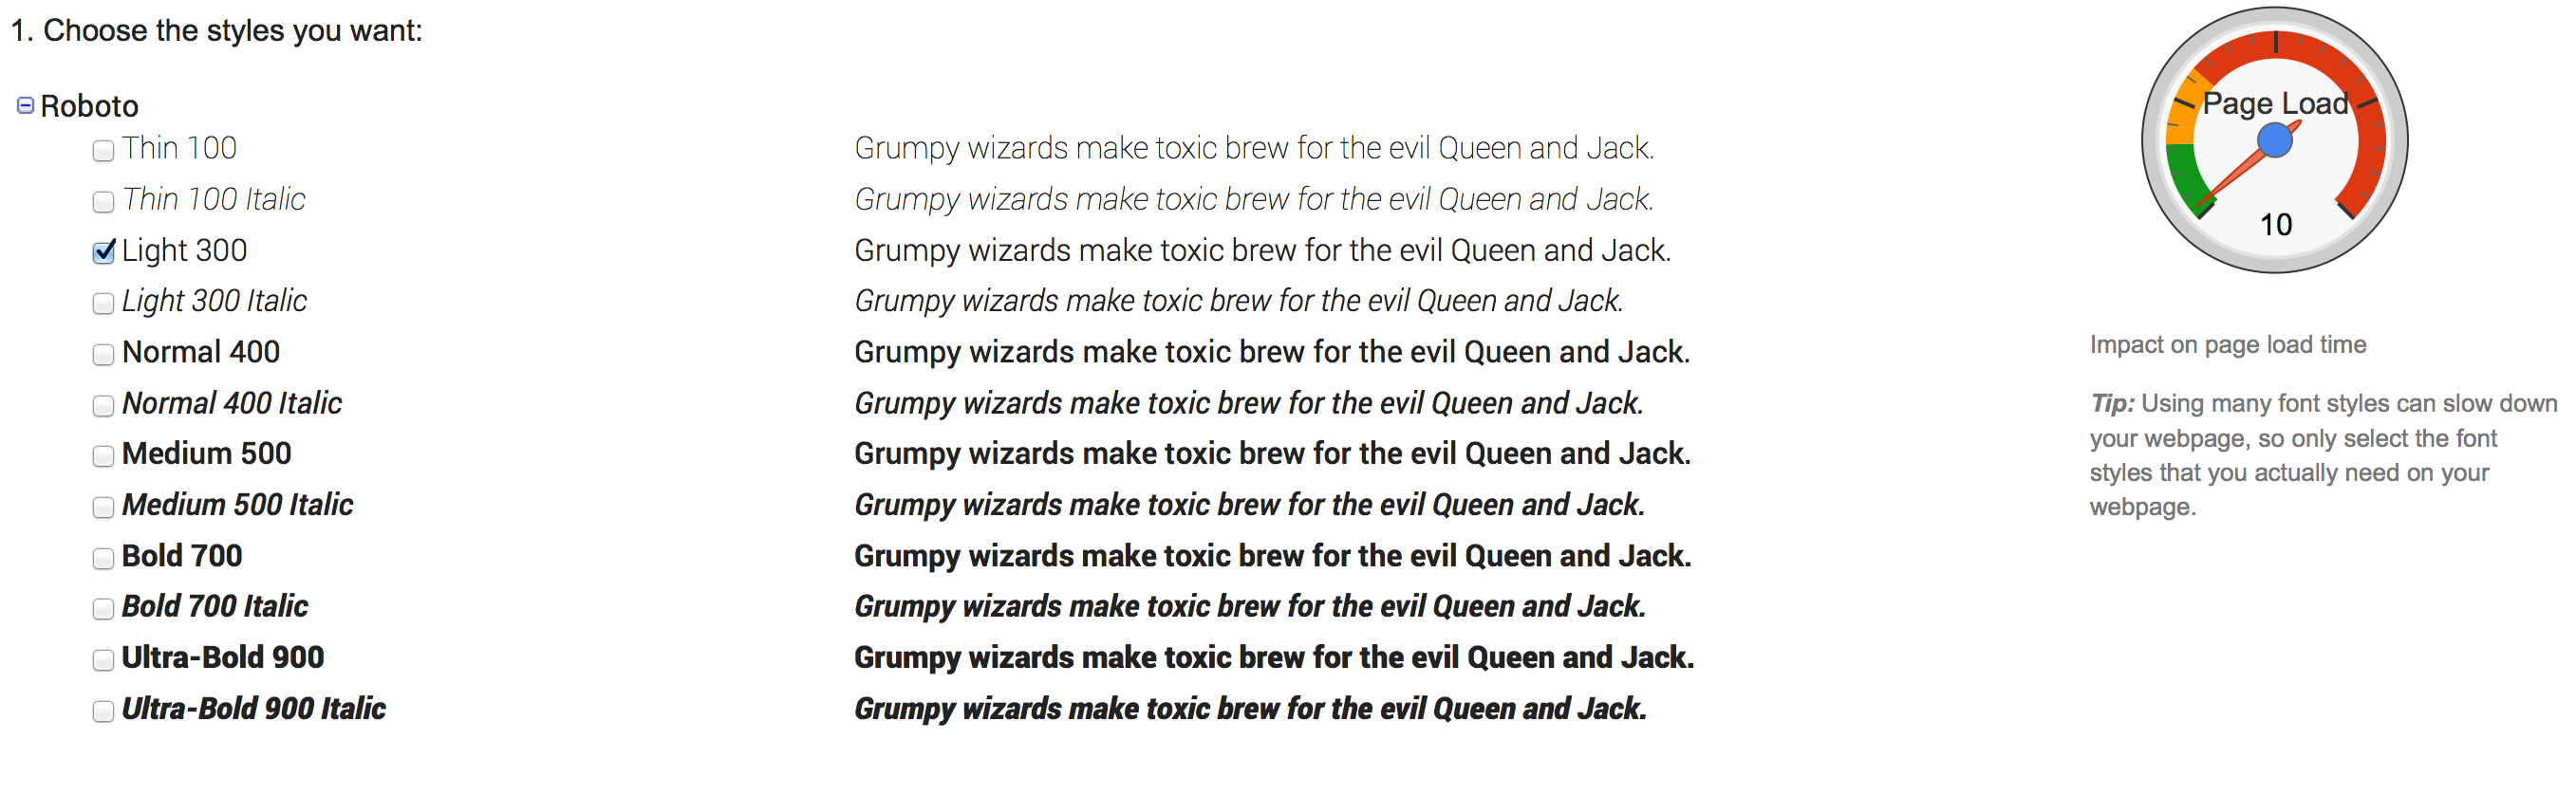
Click the right arrow button for “Quick Use”:

Choose the style here:
Copy the code for Roboto font:
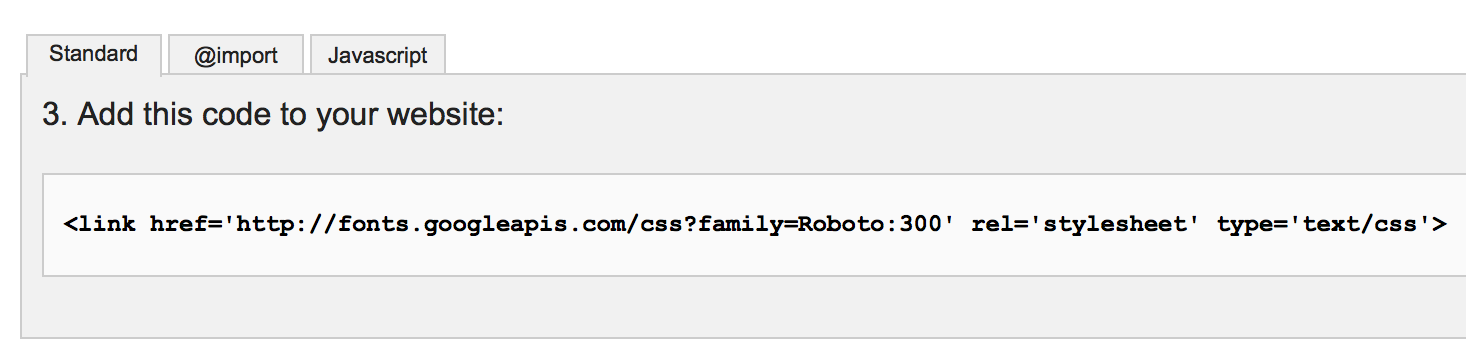
This is the code you will need finally: (You can directly use this line in your blog)
<link href='http://fonts.googleapis.com/css?family=Roboto:300'
rel='stylesheet' type='text/css'> |
Step 3 – Setup Font for your Blog
Go to the WordPress theme editor, edit header.php file, put the “< link ... >” code between “< head >” and “< /head >“, and save it. Now you have included the Roboto font family.
The last step is to config CSS for the HTML tag(s) you want to change. Again go to your wordpress theme editor, edit the styles.css file.
In my case, I want to change the < strong > < /strong> tag, so I insert the following code to the css file.
.entrybody strong, .entrybody strong a:hover, .entrybody strong a { color:#333333; font-weight:300; line-height:150%; text-decoration:none; font-faimily: 'Roboto',arial,sans-serif; font-size:29px; line-height: 34px; letter-spacing:-1px; } |
Open Sans and open sans light are great! They are very readable just like verdana font, i will try it on this site http://pediatek.com